What Are the Different Form Fields I Can Use on My Custom Form?
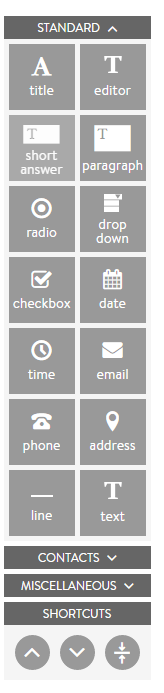
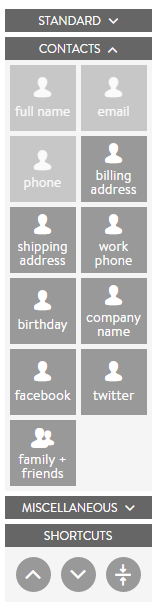
PhotoBiz allows you to fully customize your forms using a wide variety of field types. Whether you are creating an inquiry form, contract, questionnaire, or payment form, you can choose from Standard Fields, Contact (CRM) Fields, and advanced Miscellaneous Fields.
This guide explains what each field type does and when you should use it. By the end, you will understand which fields to use to collect general information, store client details in your CRM, accept payments, collect files, and capture digital signatures.