How to Design and Customize Your Website Footer in PhotoBiz
Your website footer is an important part of its design, giving visitors quick access to key information like your contact details, social media links, legal disclaimers, and newsletter sign-ups. A well-designed footer helps visitors navigate your site easily and adds a professional touch. Follow these simple steps to customize your footer with PhotoBiz and make it fit your needs!
STEP ONE
Log Into Your PhotoBiz Account
In the left-hand menu, click on WEBSITE.
STEP TWO
Access Your Footer Settings
On the left column of the website builder, click on Footer.
BUILD YOUR FOOTER
The footer is located at the bottom of your website, and it’s a great place for business information, legal disclaimers, social media links, and more.
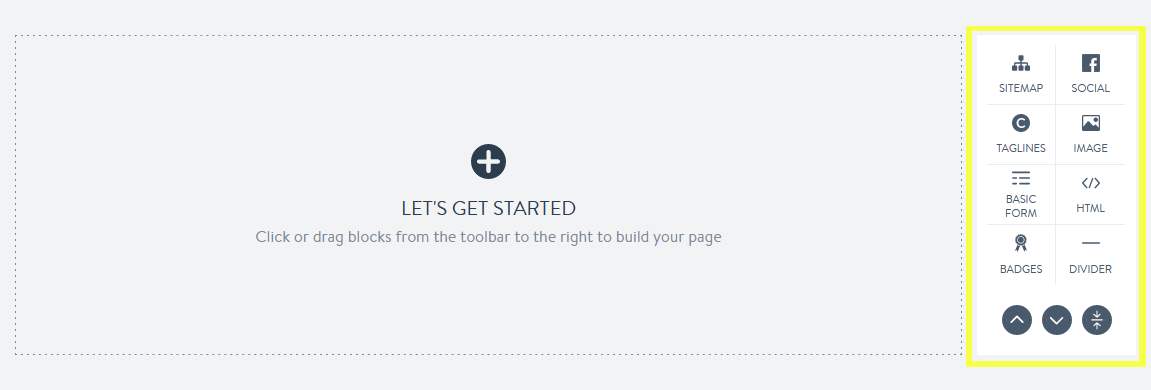
Add and Organize Footer Elements
- Click the Footer Tab: This tab is listed beneath your website’s navigation and controls what goes in your footer.
- Add Blocks: Click on the blocks you want to add (e.g., Contact Info, Social Media, Newsletter Sign-Up).
- Drag and Drop: You can easily drag and drop blocks into place or even arrange them side-by-side to create the layout you want.
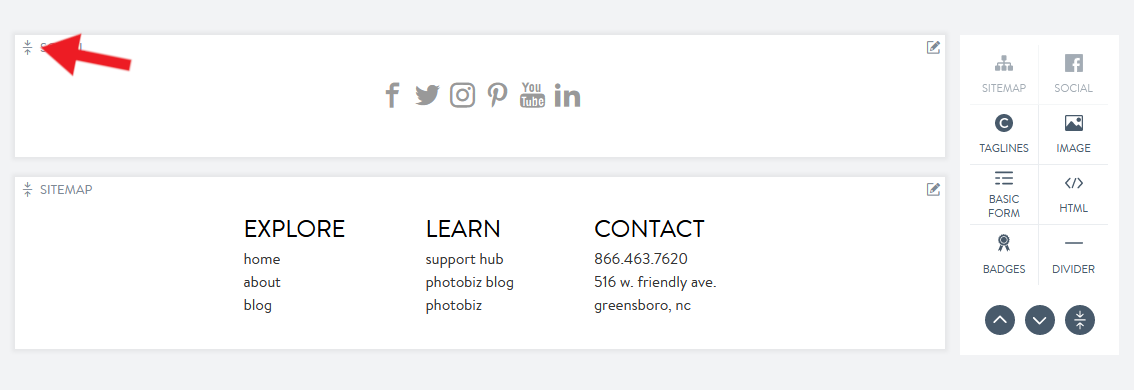
The footer lives at the bottom of your website and can contain general or legal information about your company. The footer can also include a newsletter sign-up, social media links, or contact information.
Update your footer by clicking on the footer tab listed beneath your navigation.

Build your footer by clicking on the blocks you want to add.
Adjust blocks by dragging and dropping them to your desired location. You can also drag and drop certain blocks to sit side-by-side.
SHORTCUTS
Utilize shortcuts to scroll up and down the page or to collapse blocks.

Top: Eliminate scrolling and go to the top of your page.
Bottom: Eliminate scrolling and go to the bottom of your page.
Collapse all: Consolidate blocks to make navigating between blocks on your page easier. Open a block by pressing the expand icon.