May 14, 2025 | By: PhotoBiz Knowledge Base
PhotoBiz integrates with Square to allow you to accept online payments directly through your website. Once connected, clients can securely submit payments through Client Galleries, Scheduler bookings, Invoices, Forms, and your Online Store. This guide walks you through connecting your Square account and configuring your payment settings. All payment processing is handled by Square.
Important: Refunds must be processed directly in your Square account. Refunds cannot be issued from within PhotoBiz.
Log into your PhotoBiz account. From the left-hand menu, click ECommerce to access your payment settings.
Go to Merchant Settings
Hover over Payment in the menu.
Click on Merchants.
Add Square as a Merchant
Click the New Merchant button.
By default, Stripe is selected. Click the dropdown and choose Square.
Click the Connect to Square button.
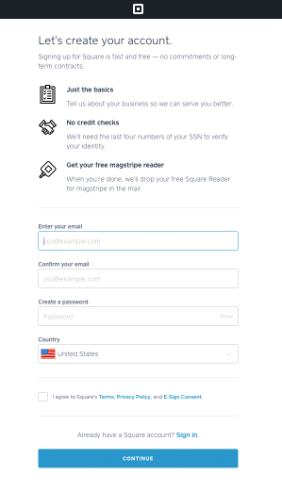
A new window will open prompting you to log into your Square account. If you don’t have a Square account, you’ll be guided through the steps to create one.
Authorize Your Square Account
Follow the prompts to log into and authorize your Square account. Once complete, your Square account will be connected to your PhotoBiz website.


After completing these prompts, your Square account will be connected to your PhotoBiz site, enabling online payments almost immediately.
Configure Your Square Settings
Click Configure New Square Account to review your settings.
Confirm the card types you’d like to accept.
⚠️ Note: Only websites using PhotoBiz 9 or newer can use Square as a payment option for the Online Store.
Save Your Settings
Click Save to complete the setup. Your PhotoBiz account is now ready to accept online payments via Square!
Once Square is connected, your checkout page will allow clients to securely enter their credit/debit card information and submit payments through Square.
Once you've configured Square as your merchant, your checkout screen will appear similar to the one below where your clients can enter their credit/debit card and submit the order to be processed by Square.
✅ PhotoBiz provides a PCI Compliance Certificate for your account.
To download your certificate:
Go to your Merchant settings.
Click on the PCI Certificate link.
This certificate can be used if a client, bank, or institution requests proof of PCI compliance.